
Projects
Below organizations in the Oasis deployment hierarchy are projects. They can represent organizational units such as teams, product groups, environments (e.g. staging vs. production). You can have any number of projects under one organization.
Organizations → Projects → Deployments
Projects are a container for related deployments, certificates & IP allowlists. Projects also come with their own policy for access control. You can have any number of deployment under one project.
In essence, you can create whatever structure fits you for a given organization, its projects and deployments.

How to create a new project
- Click on Overview in the Projects section of the main navigation.
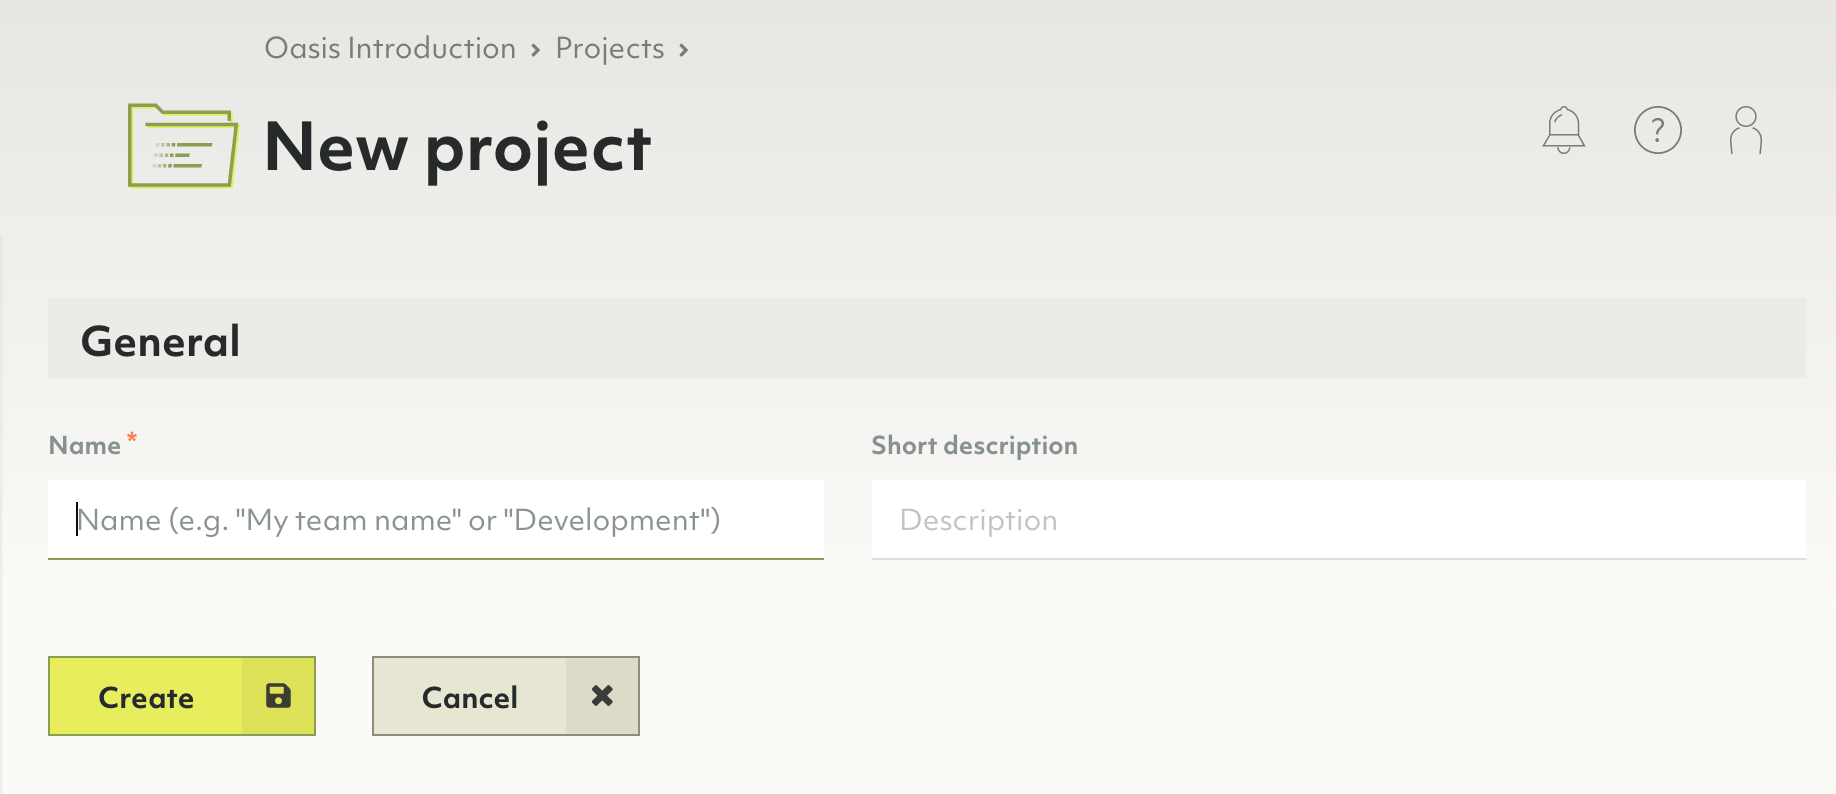
- Click the New project button.
- Enter a name and optionally a description for your new project.
- Click the Create button.
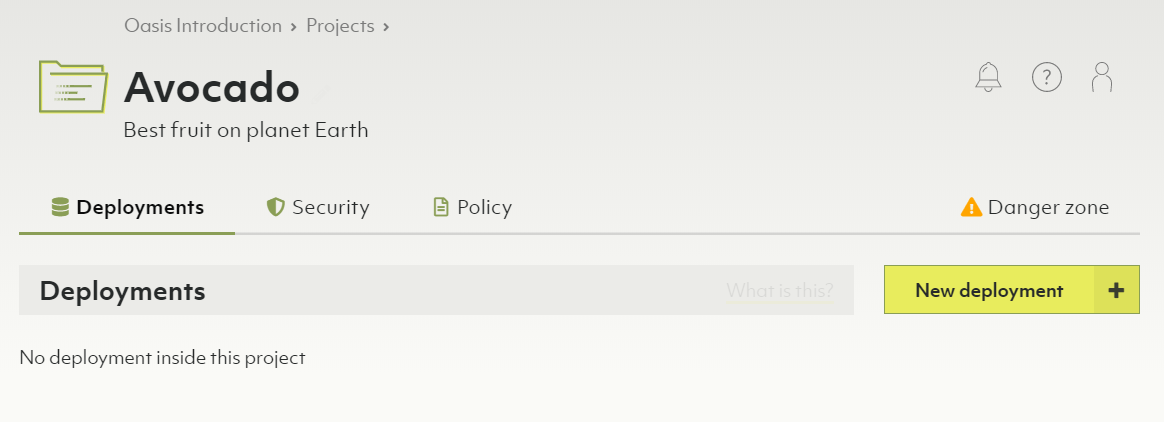
- You will be taken to the project page.
- To change the name or description, click on either at the top of the page.
Projects contain exactly one policy. Within that policy, you can define role bindings to regulate access control on a project level.
How to create a new deployment
See Deployments: How to create a new deployment
How to delete a project
Deleting a project will delete contained deployments, certificates & IP allowlists. This operation is irreversible.
- Click on Overview in the Projects section of the main navigation.
- Click on a trash can icon in the Actions column.
- Enter
Delete!to confirm and click Yes.
Alternatively, you can also delete a project via the project page:
- Click on a project name in the Projects section of the main navigation.
- Click on the Danger zone tab.
- Click the Delete project… button.
- Enter
Delete!to confirm and click Yes.
How to manage IP allowlists
IP allowlists let you limit access to your deployment to certain IP ranges. It is optional, but strongly recommended to do so.
You can create an allowlist as part of
- Click on a project name in the Projects section of the main navigation.
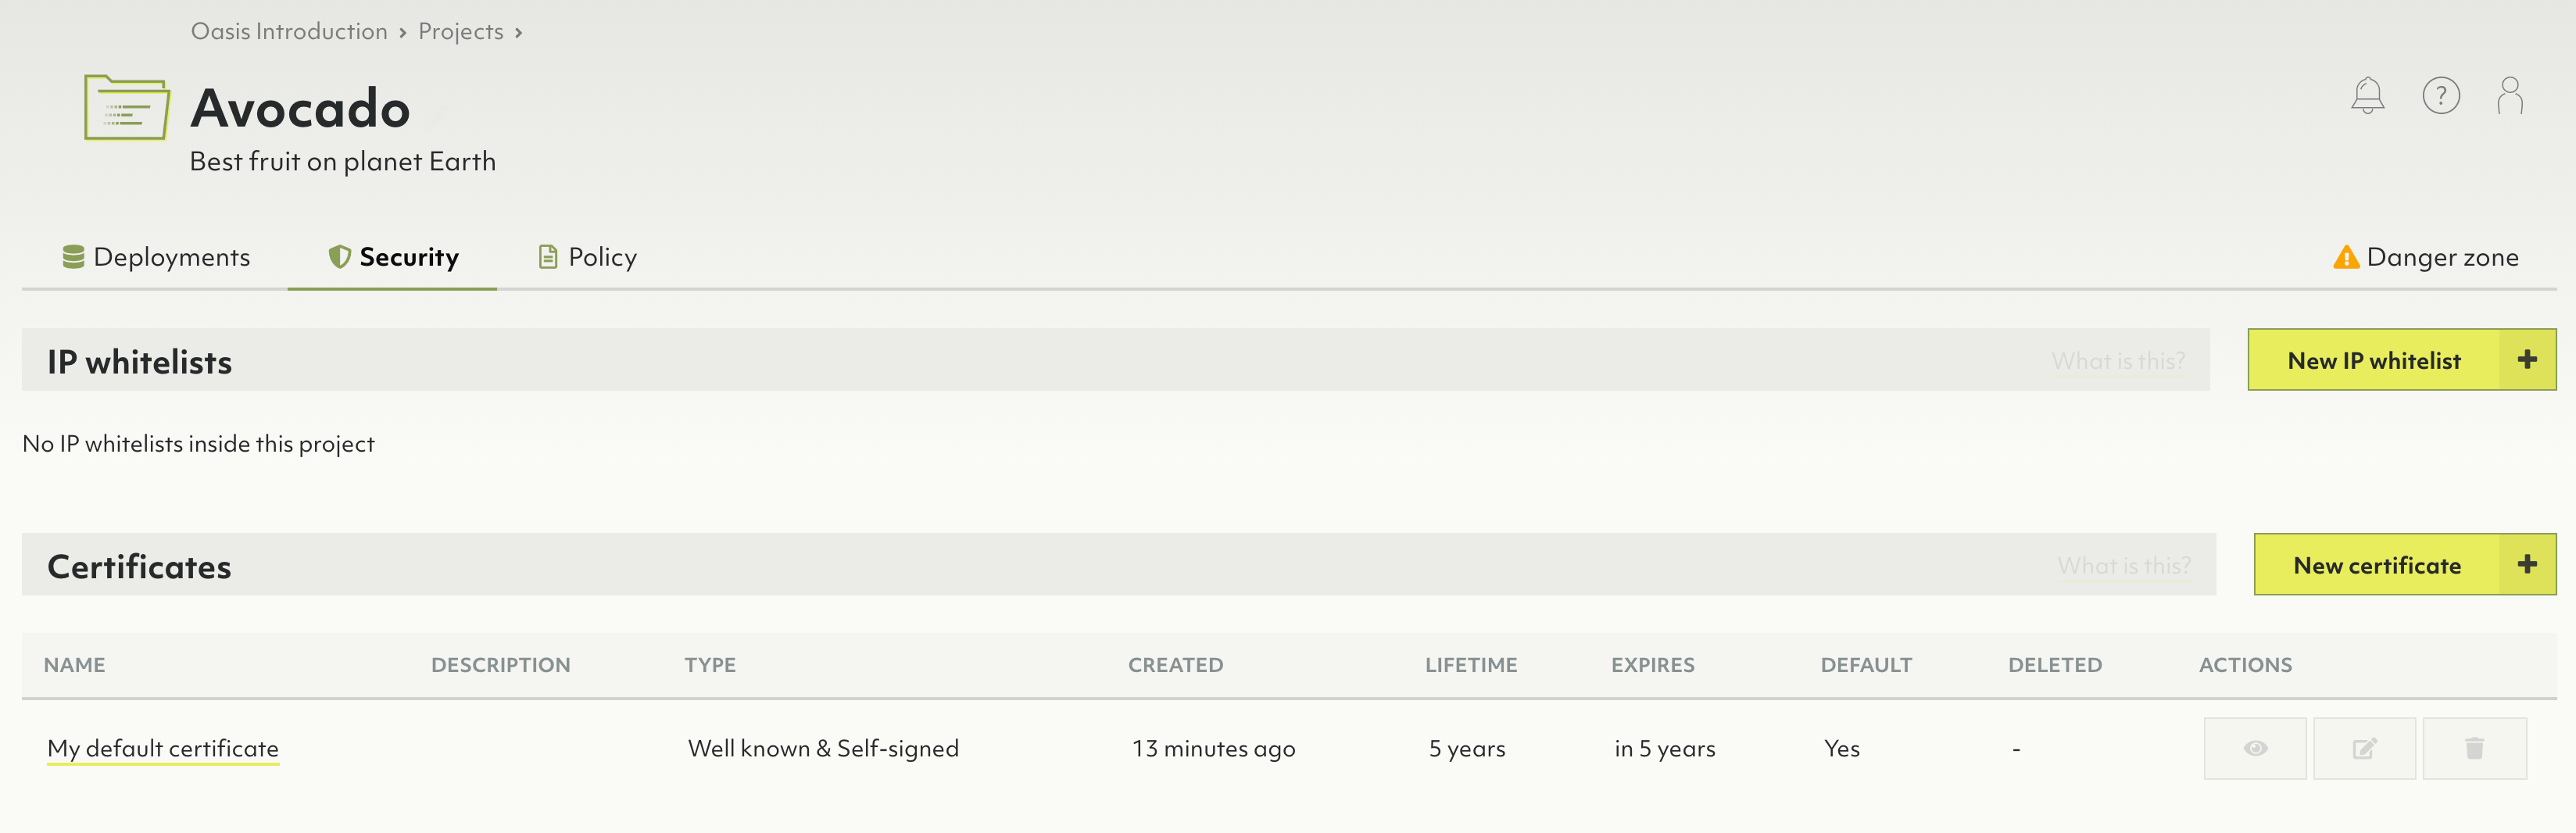
- Click on the Security tab.
- In the IP allowlists section, click on:
- The New IP allowlist button to create a new allowlist.
- A name or the eye icon in the Actions column to view the allowlist.
- The pencil icon to edit the allowlist. You can also view the allowlist and click the Edit button.
- The trash can icon to delete the allowlist.
How to manage certificates
Certificates are utilized for encrypted remote administration.
Certificates that do have the Use well known certificate option enabled do not need any installation and will be supported by almost all web-browsers automatically.
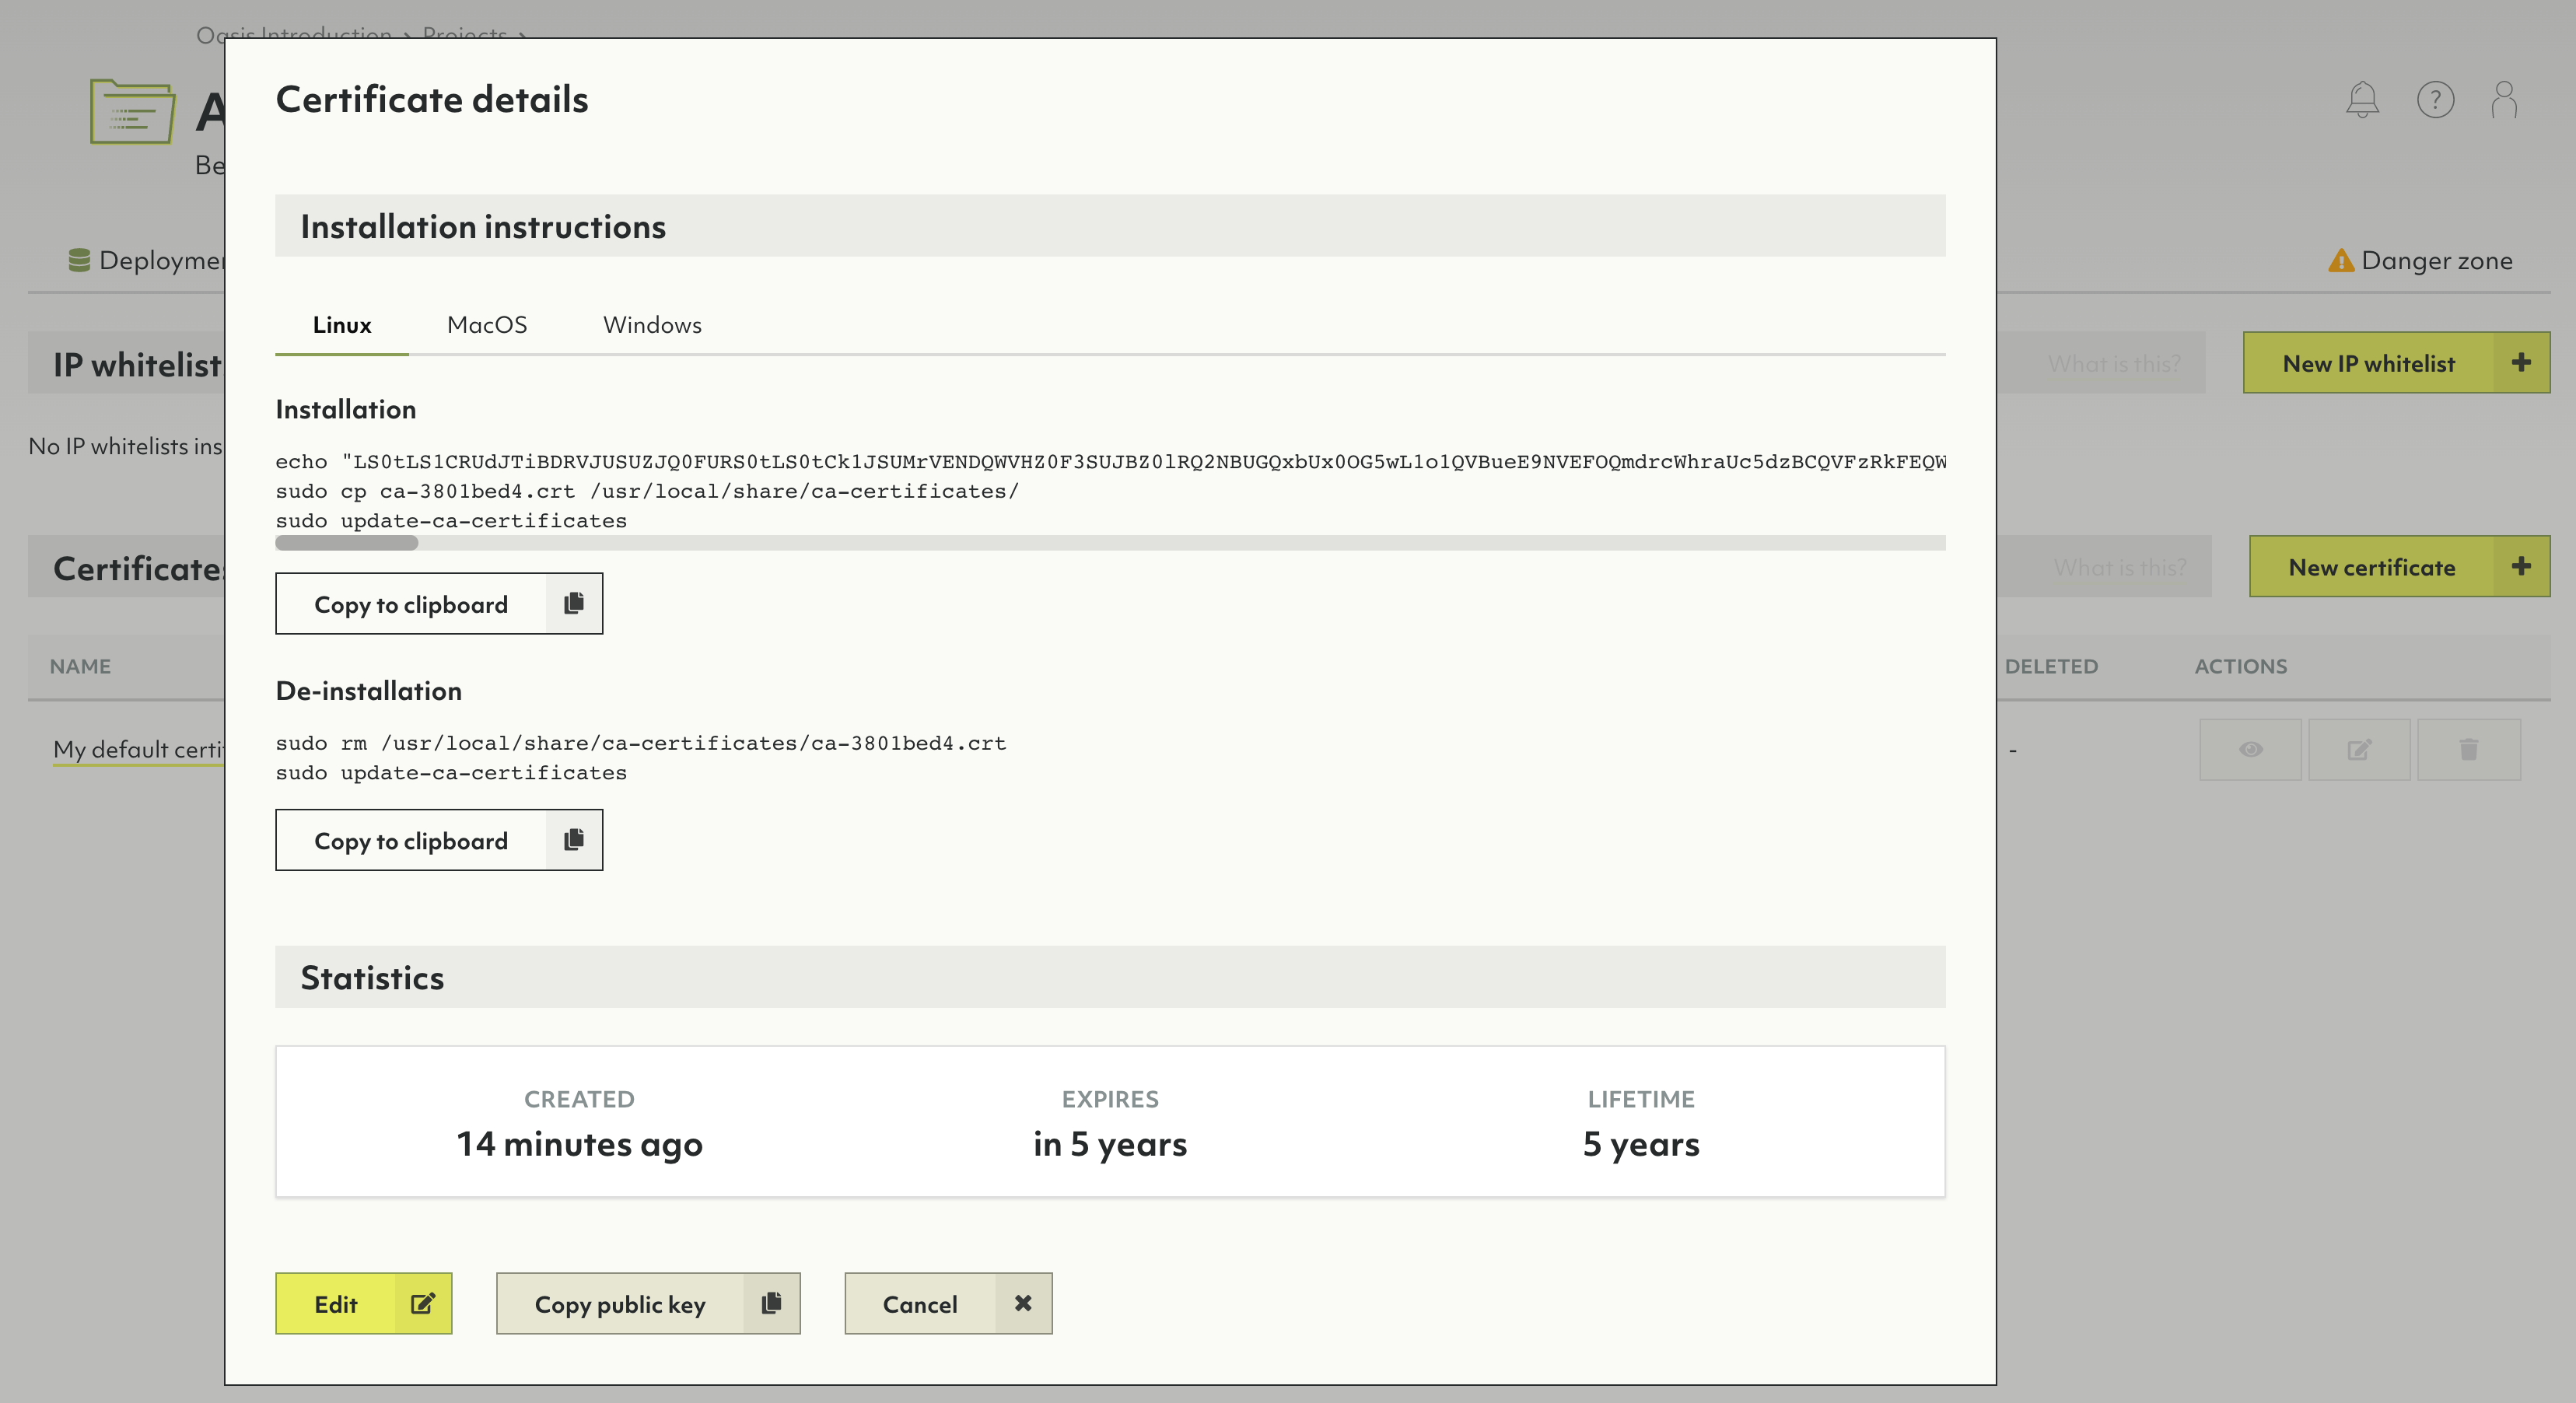
Each certificate you create in ArangoDB Oasis that has the Use well known certificate option disabled, you will also need to install on your local machine. This operation will slightly vary between operating systems.
- Click on a project name in the Projects section of the main navigation.
- Click on the Security tab.
- In the Certificates section, click on:
- The New certificate button to create a new certificate.
- A name or the eye icon in the Actions column to view a certificate. The dialog that opens provides commands for installing and uninstalling the certificate through a console.
- The pencil icon to edit a certificate. You can also view a certificate and click on the Edit button.
- The tag icon to make the certificate the new default.
- The trash can icon to delete a certificate.
How to manage role bindings
See: